What this article says in 30 seconds
- AI virtual staging works best from bright clean room photos that clearly show the floor walls windows and layout
- Agents should choose a small set of high-impact rooms instead of staging every photo
- DesignSense is strongest when teams start from a real room photo and use human review to keep the final image believable
Use DesignSense for this workflow when you need to:
- Real estate agents preparing vacant or dated rooms for AI staging
- Listing coordinators creating a repeatable photo-prep checklist
- Marketing teams that want cleaner staging output before MLS upload
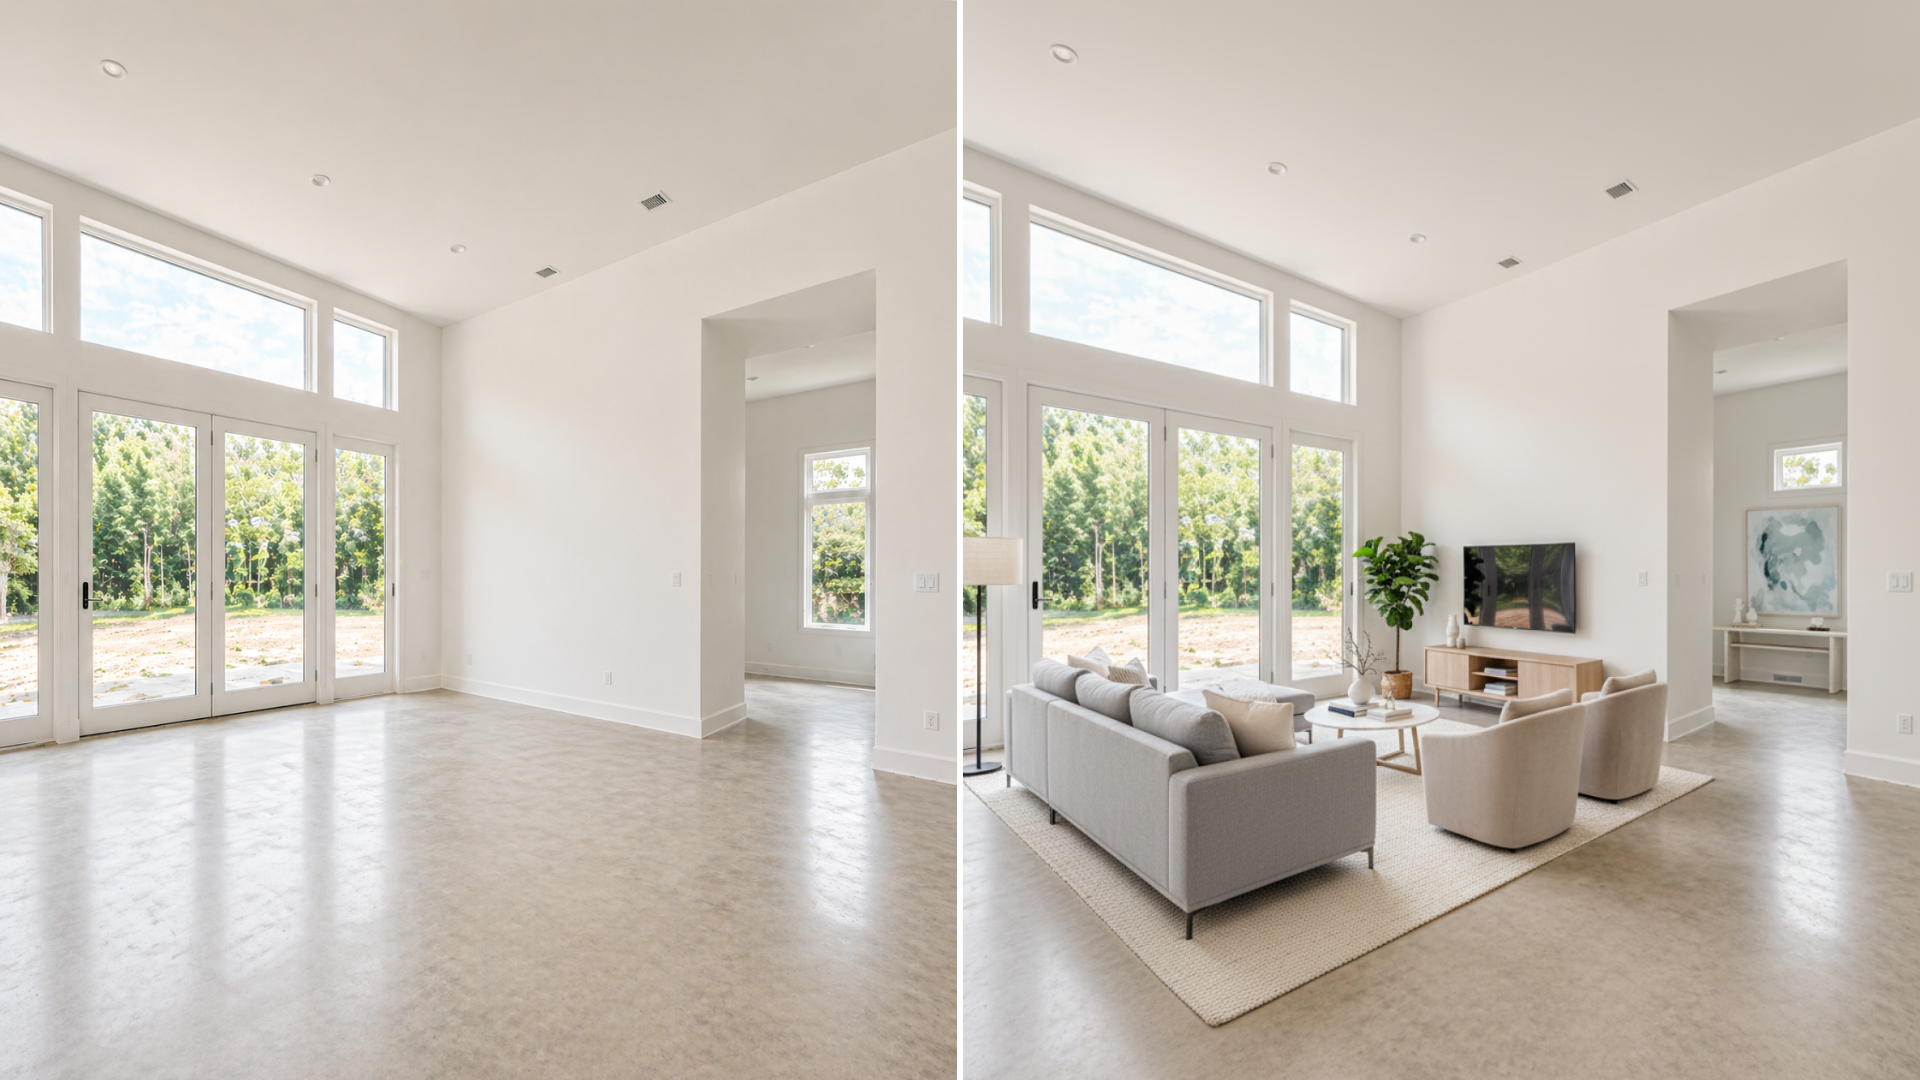
To prepare listing photos for AI virtual staging, start with a clean, bright, honest room photo that shows the floor, walls, windows, doors, and layout clearly. AI staging can add furniture and visual context, but it cannot reliably rescue a photo that hides the room, distorts the scale, or misrepresents the property.
For agents, the practical goal is not to create the most dramatic image. The goal is to give the staging tool enough visual information to make the room easier for buyers to understand. If you are still deciding whether AI staging fits the listing, read how real estate agents use AI to stage listings faster first.
Start with the rooms that matter most
Do not prepare every photo for AI staging. Start with the rooms that affect buyer understanding:
- Main living area
- Primary bedroom
- Dining area or open-plan space
- One flex room that buyers may misread
- One dated or vacant room that hurts the listing gallery
This keeps the workflow focused. A listing usually does not need ten staged images. It needs a few strong images that make the property easier to read online.
Zillow's real estate photography guidance recommends capturing major spaces such as the primary bedroom, kitchen, living room, bathrooms, and exterior, and it also emphasizes horizontal orientation, layout clarity, and honest representation. Those same principles matter even more when the image will be used as the input for AI staging.
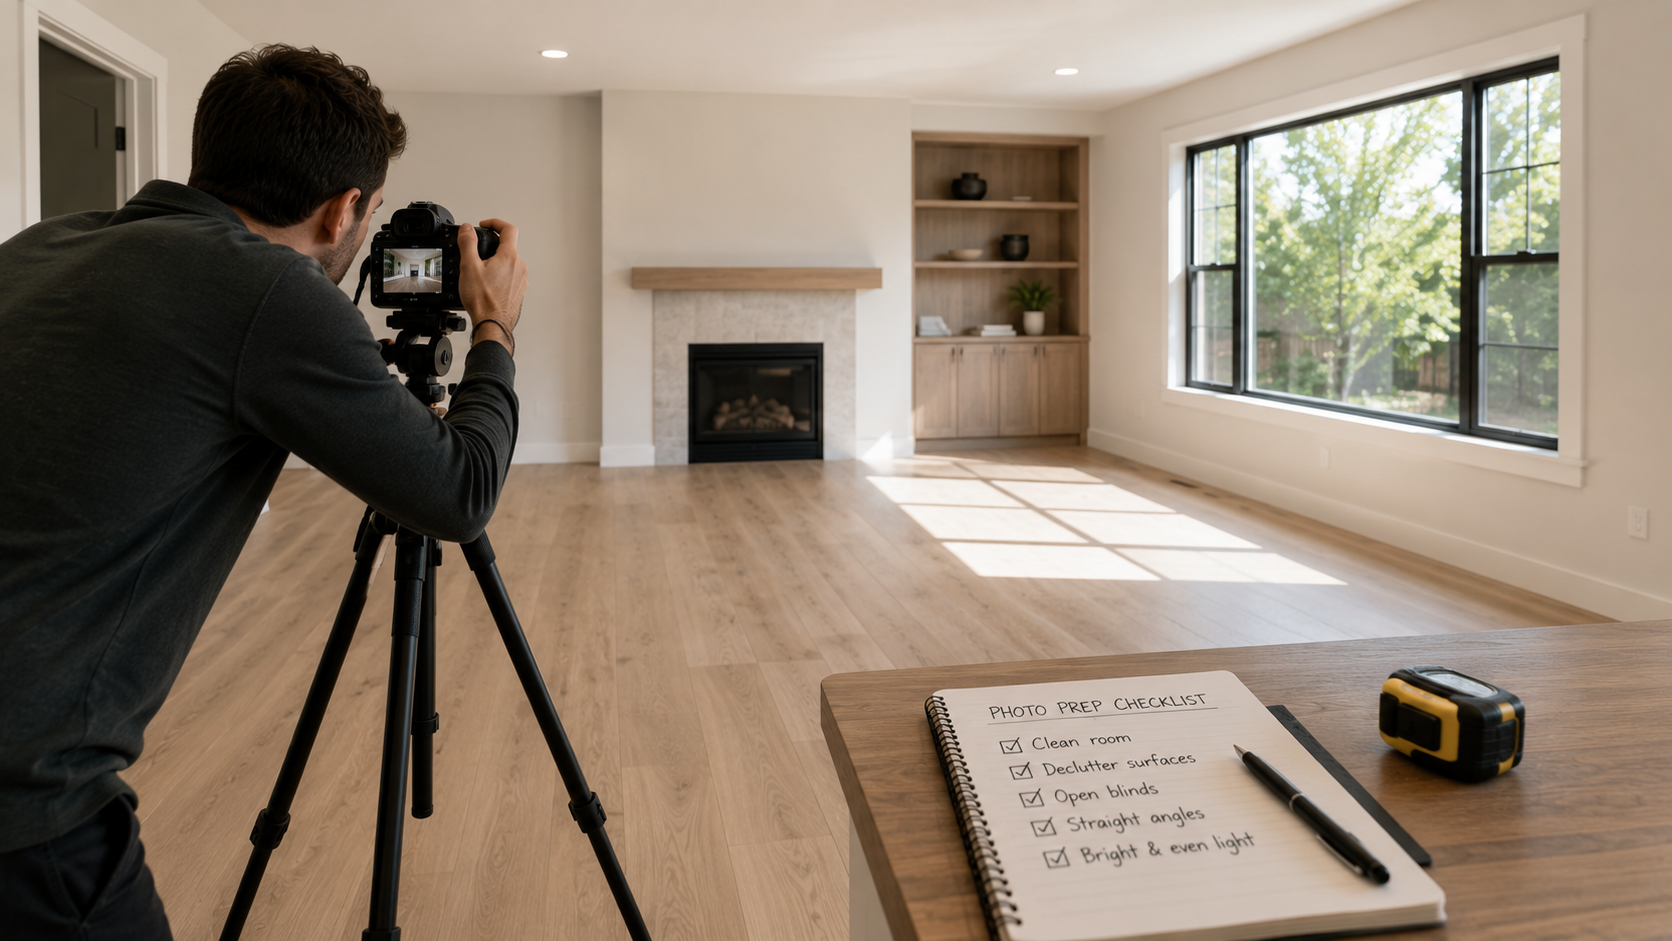
Clean the room before you photograph it
AI staging works from the source image. If the photo is cluttered, dark, or visually confusing, the staged result has to fight the input. Before photographing a room, remove:
- Loose cords
- Laundry baskets
- Personal photos
- Pet beds and bowls
- Small countertop appliances
- Visible trash cans
- Distracting rugs or temporary mats
- Items that block the floor edge or wall line
This is not about making the room feel empty or sterile. It is about making the room readable. The clearer the source photo, the easier it is to generate furniture that sits naturally in the space.
For occupied listings, remove only what you can honestly remove before the showing or what your MLS and brokerage allow you to edit. If the AI result removes or replaces visible furniture, treat the final image as altered media and check the disclosure workflow in MLS rules and disclosure for virtual staging.
Use angles that show the room geometry
The best AI-staging inputs show how the room is built. Good listing-photo angles usually include:
- Two walls meeting in a corner
- Enough floor for furniture placement
- Windows and doors visible when they affect layout
- Ceiling height without tilting the camera too far upward
- A clear path from foreground to back wall
Avoid shots that are mostly furniture, ceiling, floor, or a tight corner. The staging tool needs room geometry, not just a mood. If you have several options, choose the image that helps a buyer answer: What is this room, how big does it feel, and where would furniture naturally go?
Keep the camera level and avoid distortion
Distortion is one of the fastest ways to make virtual staging look wrong. If vertical lines bow, walls lean, or the room looks much wider than it is, furniture scale becomes harder to judge. A sofa may look too large, a table may feel disconnected from the floor, or the room may look more spacious than it really is.
For most listing photos, a level camera position around chest height is a better starting point than an extreme high or low angle. A wide-angle lens can help show the room, but a fish-eye look usually creates more staging risk than benefit. The test is simple: if the photo makes the real room look strangely stretched, do not use it as the staging input.
Get the lighting close before upload
Bright, even light gives AI staging a cleaner starting point. Before taking the photo:
- Open blinds or curtains when natural light helps the room
- Turn on practical lights if they improve balance
- Avoid harsh shadows across the floor
- Avoid blown-out windows when the view matters
- Photograph the room when the main space is easiest to read
This does not mean every image has to look perfectly edited. It means the major surfaces should be visible. Floors, walls, and windows are visual anchors for staging. If a good photo is slightly soft or compressed after staging, use the AI upscaler after the staging direction is chosen. Upscaling should be the final polish step, not the first attempt to fix a bad input.
Save the original photo
Always keep the original unstaged image. You may need it for:
- Brokerage review
- MLS disclosure
- Before-and-after comparison
- Client approval
- Future edits if the staged direction changes
Some MLSs and state rules require the original unaltered image to appear near the digitally altered image or be available to consumers. NorthstarMLS guidance, for example, says virtually staged or AI-enhanced listing photos should be identified and accompanied by an unaltered before image that shows the room's actual condition.
Turn one room photo into a clearer next step.
Upload a room photo, test one or two believable directions, and get to a publishable listing visual faster.
Even when your local MLS does not require the original in the gallery, keeping it in your production folder makes the workflow cleaner.
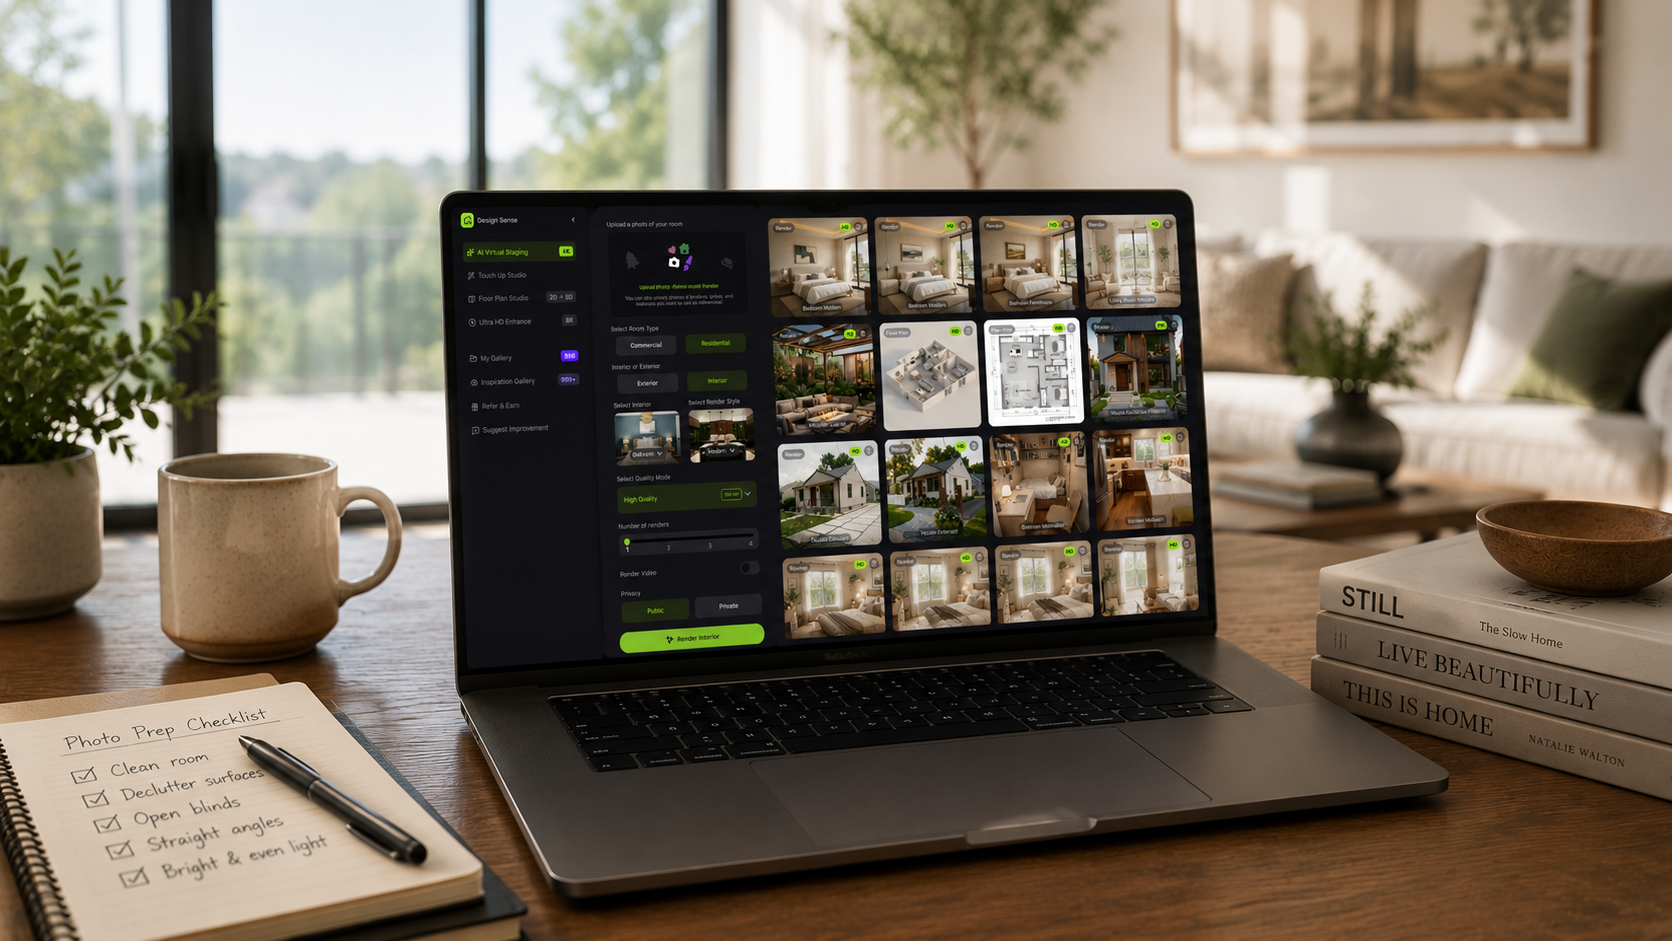
A practical DesignSense photo-prep workflow
Use this workflow when preparing photos for DesignSense:
- Choose three to five rooms that will most improve listing clarity.
- Clean each room enough that the floor, walls, doors, and windows are visible.
- Shoot horizontally from an angle that shows the layout.
- Avoid extreme lens distortion, low-resolution exports, and heavy pre-editing.
- Upload the strongest source photo for each room.
- Generate a few realistic staging directions.
- Reject outputs that change the room scale, hide real conditions, or feel off-market.
- Upscale only the final approved image if it needs sharper listing quality.
- Add disclosure labels or original-photo sequencing based on your MLS and brokerage rules.
DesignSense is strongest when the input is a real room photo and the output is reviewed by someone who knows the listing. The software can speed up the visual decision, but the agent still decides whether the result is accurate enough to publish.
Common photo-prep mistakes
Most weak AI-staged images start with one of these source-photo problems:
- The room is too dark
- The camera is tilted
- The shot hides the floor
- The image is too compressed
- A large object blocks the wall or window
- The room is photographed from an awkward doorway sliver
- The photo already has heavy filters or fake lighting
- The space is too cluttered for the tool to understand the room
If you see one of these issues, take another source photo before you spend time generating variations. It is usually faster to fix the input than to review a dozen weak outputs.
What AI staging should not fix
AI virtual staging should not be used to hide real property problems. Do not use it to cover:
- Damaged flooring
- Missing fixtures
- Water stains
- Awkward permanent features
- A view or neighboring structure buyers will see in person
- Layout constraints that matter to the sale
Those are not staging problems. They are property-condition or disclosure problems. The stronger move is to photograph honestly, stage the room realistically, and let the label or original photo make the digital edit clear.
FAQ
What photo format works best for AI virtual staging?
Use the highest-quality listing image you can reasonably provide. Avoid tiny, heavily compressed screenshots or images that have already been filtered several times. The clearer the room surfaces, the better the staging review process will be.
Should I edit the photo before uploading it for AI staging?
Light correction is fine when it helps the room look clear and accurate. Avoid heavy edits that change the room, hide conditions, or make the photo less faithful to the real property.
Can I use phone photos for AI staging?
Sometimes, if the room is bright, level, and high enough resolution. Professional listing photos are usually stronger because they show geometry, light, and scale more consistently.
Should I stage vacant rooms or occupied rooms first?
Vacant rooms are usually easier because the tool has a clean view of the room. Occupied rooms can work, but clutter, furniture removal, and disclosure questions need more review.
How many photos should I prepare for AI staging?
Start with three to five high-impact images. Stage the rooms that make the listing clearer online instead of staging every image in the gallery.
Final recommendation
Good AI virtual staging begins with good listing-photo preparation. Clean the room, shoot it level, show the layout, preserve the original, and review the staged result against what buyers will actually see.
That gives DesignSense a better input and gives your team a cleaner approval path. When you have a real room photo ready, stage a prepared room in DesignSense and compare a few realistic directions before the listing goes live.
Turn one room photo into a clearer next step.
Use the free trial to turn one room photo into a staging direction that is easier to review, approve, and publish.